Make Your Own A-Frame Tent
When I saw the instructions to make your own a-frame tent online, I knew it was something my daughter would love, and it looks simple enough to build.
Who doesn't want their own spot to hideaway in and let their imagination run free?!
This is what you'll need to make your own tent and here is where I found the post which inspired our own A-frame tent!
1. 4 pieces of wood - 1" x 2" (length is your choice, this will be the height of the tent, we used 2"x48)
2. 3 dowels (width is your choice, remember you will have to drill a hole through the wood frame and the dowel sits in the hole)
3. A drill (with a spade bit), measuring tape and a pencil
4. Fabric of your choice (we pieced together a pretty table cloth that I got from Ikea and never use, and a spare flat sheet)
5. Patience and a helper
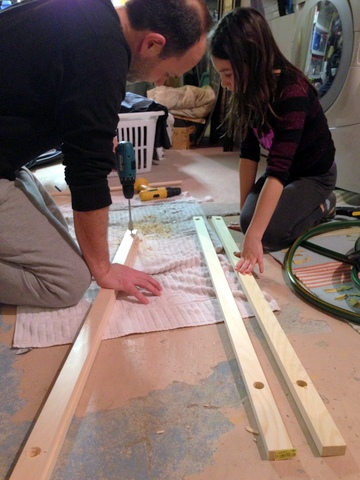
Drill holes 6" from the top of one end of your framing wood, and 1.5" from the bottom end of the same piece of wood. Insert your dowels and through the holes, making sure to cross the tops of your A-frames (the 6" end) and set up the A-frame.
Once you have it erected, I measured the width between the frames, for the width of my fabric (mine was 40"), then I measured the length when the tent was fully open (mine was 46" X 2 to cover both sides), then I allowed for a 4 " pocket at the bottom of both lengths, for the dowels to pass through (100" length total).
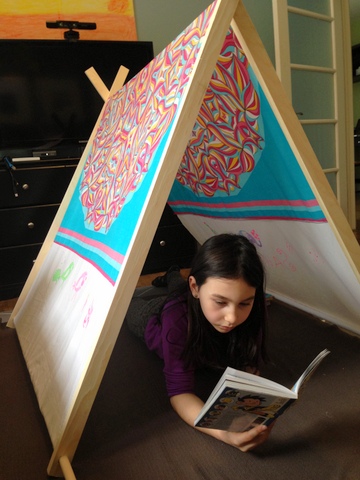
As you can see, I had my daughter decorate the plain sheet with her airbrush fabric paint, and made it her own.
We sewed it up...
and set it up in the kid's entertainment room.
She has already slept under it and is excited to play in it with her friends.
Not bad for a Saturday morning project that is inexpensive, where the possibilities are endless and encourages quality time with the kids. I envision sewing her a few more tent covers and getting creative with some ribbons and embellishments.
What do you think?
[post_comments]


